Como instalar WordPress con Nginx y Let’s Encrypt SSL en Ubuntu 24.04. WordPress CMS es un sistema de gestión de contenidos gratuito y de código abierto que permite a los usuarios crear y gestionar sitios web fácilmente. Es conocido por su flexibilidad, su interfaz fácil de usar y su amplia biblioteca de complementos y temas, lo que lo hace ideal tanto para principiantes como para profesionales.
WordPress facilita la creación y el mantenimiento de sitios web y blogs. Debido a su popularidad, más de un tercio de los sitios web actuales funcionan con WordPress. Está escrito en PHP y utiliza MariaDB y MySQL como base de datos.
En este tutorial, le mostraremos cómo instalar WordPress con Nginx y un certificado SSL Let’s Encrypt gratuito en Ubuntu 24.04.
Como instalar WordPress con Nginx y Let’s Encrypt SSL en Ubuntu 24.04
Requisitos previos
Un servidor que ejecuta Ubuntu 24.04.
Un nombre de dominio válido apunta con la IP de su servidor.
Se configura una contraseña de root en el servidor.
Instale Nginx, MariaDB y PHP
Antes de comenzar, el servidor LEMP debe estar instalado en su servidor. Si no está instalado, puede instalarlo ejecutando el siguiente comando:
apt install nginx mariadb-server php php-fpm php-curl php-mysql php-gd php-mbstring php-xml php-imagick php-zip php-xmlrpc -yUna vez instalado el servidor LEMP, verifique la versión de PHP usando el siguiente comando:
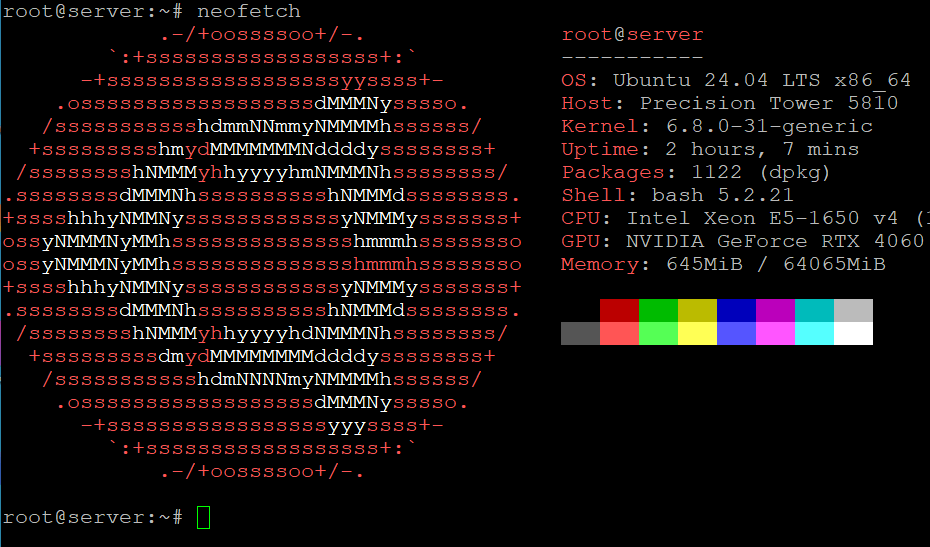
php -vObtendrá la versión de PHP en el siguiente resultado:
root@server:~# php -v
PHP 8.3.6 (cli) (built: Apr 15 2024 19:21:47) (NTS)
Copyright (c) The PHP Group
Zend Engine v4.3.6, Copyright (c) Zend Technologies
    with Zend OPcache v8.3.6, Copyright (c), by Zend Technologies
A continuación, edite el archivo de configuración de PHP y modifique algunas configuraciones predeterminadas:
nano /etc/php/8.3/fpm/php.iniCambie las siguientes líneas:
cgi.fix_pathinfo=0
upload_max_filesize = 128M
post_max_size = 128M
memory_limit = 512M
max_execution_time = 120
Guarde y cierre el archivo cuando haya terminado. CTR + O guardar, y CTR + X salir.
Crear una base de datos para WordPress
WordPress utiliza una base de datos para almacenar su contenido. Por lo tanto, necesitarás crear una base de datos y un usuario para WordPress. Primero, inicie sesión en el shell MariaDB con el siguiente comando:
mysqlUna vez que haya iniciado sesión, cree una base de datos y un usuario con el siguiente comando:
MariaDB [(none)]> CREATE DATABASE wpdb;
MariaDB [(none)]> CREATE USER 'wpuser'@'localhost' IDENTIFIED BY 'securepasssword';
A continuación, otorgue todos los privilegios a la base de datos de WordPress usando el siguiente comando:
MariaDB [(none)]> GRANT ALL ON wpdb.* TO 'wpuser'@'localhost';A continuación, borre los privilegios y salga de MariaDB con el siguiente comando:
MariaDB [(none)]> FLUSH PRIVILEGES;
MariaDB [(none)]> EXIT;
Una vez que haya terminado, puede continuar con el siguiente paso.
Instalar WordPress en Ubuntu 24.04
Primero, navegue hasta el directorio raíz web de Nginx y descargue la última versión de WordPress usando el siguiente comando:
cd /var/www/html
wget https://wordpress.org/latest.tar.gz
Una vez descargado WordPress, extraiga el archivo descargado con el siguiente comando:
tar -zxvf latest.tar.gzA continuación, cambie el nombre del archivo de configuración de muestra de WordPress.
mv /var/www/html/wordpress/wp-config-sample.php /var/www/html/wordpress/wp-config.phpA continuación, edite el archivo de configuración de WordPress y defina la configuración de su base de datos:
nano /var/www/html/wordpress/wp-config.phpDefina la configuración de su base de datos como se muestra a continuación:
define( 'DB_NAME', 'wpdb' );

/** Database username */
define( 'DB_USER', 'wpuser' );

/** Database password */
define( 'DB_PASSWORD', 'securepasssword' );

/** Database hostname */
define( 'DB_HOST', 'localhost' );
Por razones de seguridad, también necesitarás actualizar las claves de seguridad en tu archivo wp-config. Primero, ve aquí para generarlos. Luego, agréguelo como se muestra a continuación:
define('AUTH_KEY',         '5PIp=83wd-n=9Yvmav}tHzq)T#Etd^^k,1*6U) @Y!;d?(L+q61A8EC+O|V3_]t5');
define('SECURE_AUTH_KEY',  ';9Rw/EuR8>Ow>:r>2b=yk:a^W4;K>*PQ(ps;i~k+k^`chXZlzB+F`1Gy(%&22vY<');
define('LOGGED_IN_KEY',    '$&u&}vuw,+ ZdE-K]=M0^8W}(/8z&uM=o6Bul1(L>|wFs;&sO3]0%7G/^wH,Dp!b');
define('NONCE_KEY',        '[+ots=y*8+p;p6;2As?.Nuv?$E`bRKTWl@oa`r/.k$.aISD|Kq!X/n|,k&W)=`T(');
define('AUTH_SALT',        'U@&Uh%YKuUYqCsnwdlcfd`+o^Tp~f41D0Uu^sT`^|GsIhv:kAits.<U)ra;zvrec');
define('SECURE_AUTH_SALT', '5]h1K~WlV{<.Yt1m=)rQ5BqH%*RrsPU-u@Dvm/!;x>4O:^BCx<D}q)=`qbuI(5sx');
define('LOGGED_IN_SALT',   'mpYQAS_q|QZQPSt 5_m<rFUAG!E3n#-^7_/H.X$?EHH?S,/r^eAYJ3t iFY*+sq5');
define('NONCE_SALT',       'd>`Go}GwzYu[p{U~#{-o8@`}<zY=+Uj7<Je-VbuUh!fwD(uIQ~MmRS4(Ih6z-^h ');
Guarde y cierre el archivo cuando haya terminado. A continuación, establezca el permiso y la propiedad adecuados para el directorio de WordPress:
chown -R www-data:www-data /var/www/html/wordpress
chmod -R 755 /var/www/html/wordpress
Cree un host virtual Nginx para WordPress
A continuación, deberá crear un archivo de configuración de host virtual Nginx para servir WordPress a través de Internet.
nano /etc/nginx/conf.d/wordpress.confAgregue la siguiente configuración:
server {
    listen 80;
    root /var/www/html/wordpress;
    index  index.php index.html index.htm;
    server_name  wordpress.example.com;

    client_max_body_size 500M;

    location / {
        try_files $uri $uri/ /index.php?$args;
    }

    location = /favicon.ico {
        log_not_found off;
        access_log off;
    }

    location ~* \.(js|css|png|jpg|jpeg|gif|ico)$ {
        expires max;
        log_not_found off;
    }

    location = /robots.txt {
        allow all;
        log_not_found off;
        access_log off;
    }

    location ~ \.php$ {
         include snippets/fastcgi-php.conf;
         fastcgi_pass unix:/var/run/php/php8.3-fpm.sock;
         fastcgi_param SCRIPT_FILENAME $document_root$fastcgi_script_name;
         include fastcgi_params;
    }
}
Guarde y cierre el archivo y luego verifique la configuración de Nginx usando el siguiente comando:
nginx -tObtendrá el siguiente resultado:
nginx: the configuration file /etc/nginx/nginx.conf syntax is ok
nginx: configuration file /etc/nginx/nginx.conf test is successful
A continuación, reinicie los servicios Nginx y PHP-FPM para aplicar los cambios.
systemctl restart nginx
systemctl restart php8.3-fpm
También puede verificar el estado de Nginx usando el siguiente comando:
systemctl status nginxObtendrá el siguiente resultado:
● nginx.service - A high performance web server and a reverse proxy server
     Loaded: loaded (/usr/lib/systemd/system/nginx.service; enabled; preset: enabled)
     Active: active (running) since Tue 2024-04-30 17:50:34 UTC; 25s ago
       Docs: man:nginx(8)
    Process: 31774 ExecStartPre=/usr/sbin/nginx -t -q -g daemon on; master_process on; (code=exited, st>
    Process: 31776 ExecStart=/usr/sbin/nginx -g daemon on; master_process on; (code=exited, status=0/SU>
   Main PID: 31778 (nginx)
      Tasks: 13 (limit: 76793)
     Memory: 9.0M (peak: 10.7M)
        CPU: 37ms
     CGroup: /system.slice/nginx.service
             ├─31778 "nginx: master process /usr/sbin/nginx -g daemon on; master_process on;"
             ├─31779 "nginx: worker process"
             ├─31780 "nginx: worker process"
             ├─31781 "nginx: worker process"
             ├─31782 "nginx: worker process"
             ├─31783 "nginx: worker process"
             ├─31784 "nginx: worker process"
             ├─31785 "nginx: worker process"
             ├─31786 "nginx: worker process"
             ├─31787 "nginx: worker process"
             ├─31788 "nginx: worker process"
             ├─31790 "nginx: worker process"
             └─31791 "nginx: worker process"

abr 30 17:50:34 server systemd[1]: Starting nginx.service - A high performance web server and a reverse>
abr 30 17:50:34 server systemd[1]: Started nginx.service - A high performance web server and a reverse >
lines 1-27/27 (END)
Completamos la instalación de WordPress
Ahora, abra su navegador web y acceda al asistente de instalación de WordPress utilizando la URL http://wordpress.example.com. Serás redirigido a la siguiente página:
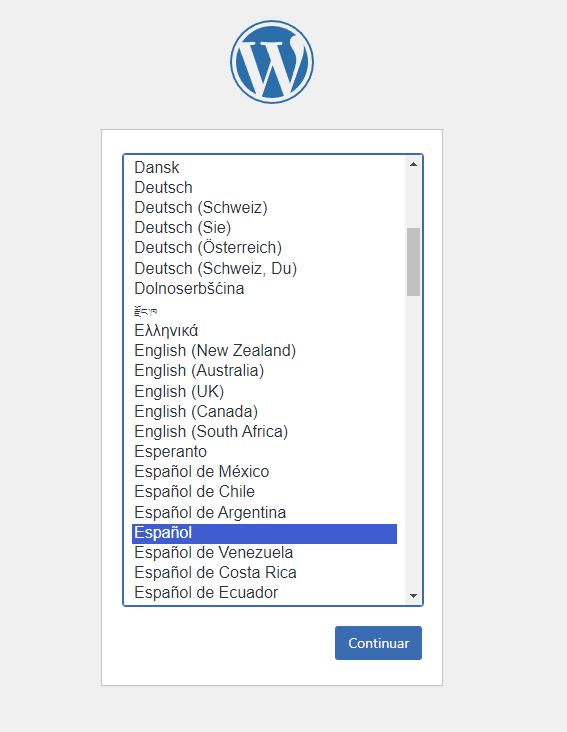
Seleccione su idioma y haga clic en el botón Continuar. Deberías ver la página de configuración del sitio de WordPress:
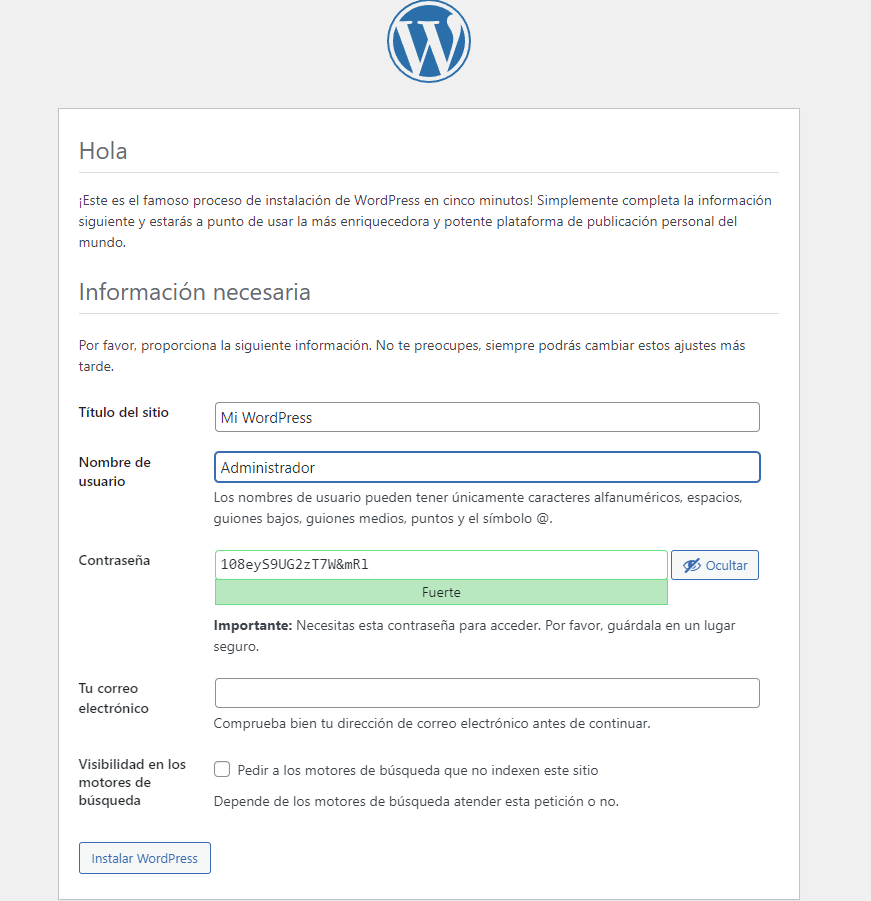
Proporcione el nombre de su sitio web, nombre de usuario de administrador, contraseña, correo electrónico y haga clic en el botón Instalar WordPress. Una vez que WordPress esté instalado, debería ver la siguiente página:
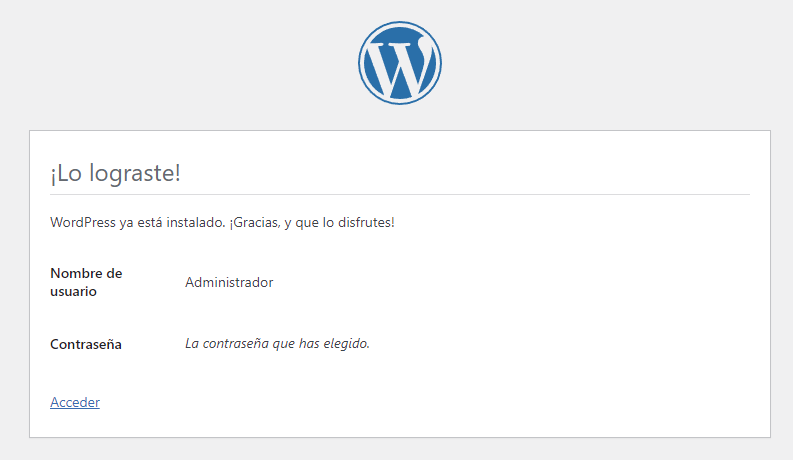
Haga clic en el botón Acceder. Deberías ver la página de inicio de sesión de WordPress:
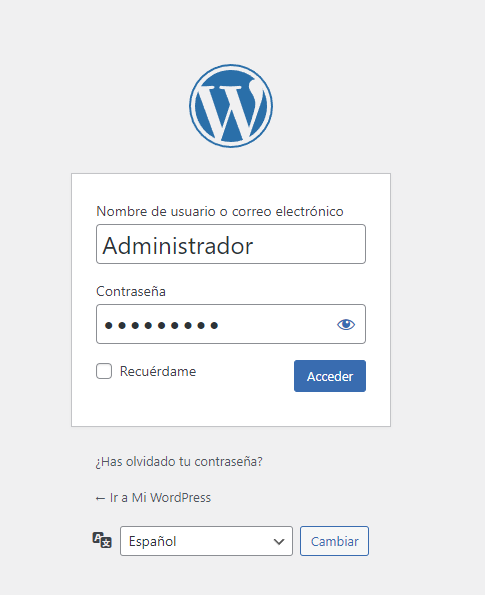
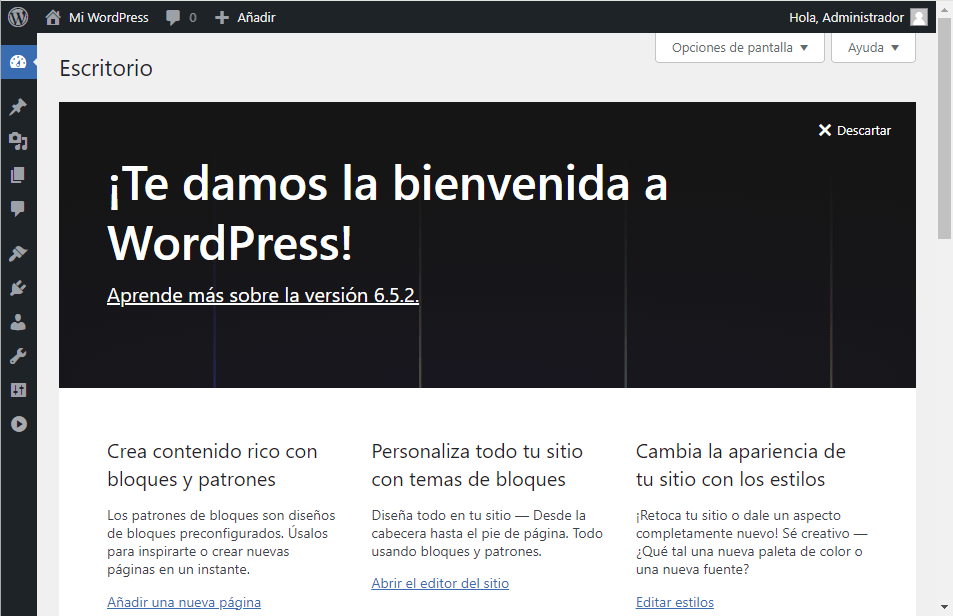
Proporcione su nombre de usuario de administrador, contraseña y haga clic en el botón Acceder. Deberías ver el panel de WordPress en la siguiente página:
Habilite HTTPS en WordPress
Para habilitar HTTPS en su sitio, deberá instalar el cliente Certbot Let’s Encrypt en su sistema. Puede instalarlo ejecutando el siguiente comando:
apt install python3-certbot-nginx -yUna vez que el cliente Certbot esté instalado, ejecute el siguiente comando para habilitar HTTPS en su sitio web:
certbot --nginx -d wordpress.example.comSe le pedirá que proporcione una dirección de correo electrónico válida y acepte los términos de servicio como se muestra a continuación:
Saving debug log to /var/log/letsencrypt/letsencrypt.log
Enter email address (used for urgent renewal and security notices)
 (Enter 'c' to cancel): veselin@veselin.es

- - - - - - - - - - - - - - - - - - - - - - - - - - - - - - - - - - - - - - - -
Please read the Terms of Service at
https://letsencrypt.org/documents/LE-SA-v1.4-April-3-2024.pdf. You must agree in
order to register with the ACME server. Do you agree?
- - - - - - - - - - - - - - - - - - - - - - - - - - - - - - - - - - - - - - - -
(Y)es/(N)o: Y

- - - - - - - - - - - - - - - - - - - - - - - - - - - - - - - - - - - - - - - -
Would you be willing, once your first certificate is successfully issued, to
share your email address with the Electronic Frontier Foundation, a founding
partner of the Let's Encrypt project and the non-profit organization that
develops Certbot? We'd like to send you email about our work encrypting the web,
EFF news, campaigns, and ways to support digital freedom.
- - - - - - - - - - - - - - - - - - - - - - - - - - - - - - - - - - - - - - - -
(Y)es/(N)o: Y

Obtaining a new certificate
Performing the following challenges:
http-01 challenge for wordpress.example.com
Waiting for verification...
Cleaning up challenges
Deploying Certificate to VirtualHost /etc/nginx/conf.d/wordpress.conf
A continuación, elija si redirigir o no el tráfico HTTP a HTTPS como se muestra a continuación:
- - - - - - - - - - - - - - - - - - - - - - - - - - - - - - - - - - - - - - - -
1: No redirect - Make no further changes to the webserver configuration.
2: Redirect - Make all requests redirect to secure HTTPS access. Choose this for
new sites, or if you're confident your site works on HTTPS. You can undo this
change by editing your web server's configuration.
- - - - - - - - - - - - - - - - - - - - - - - - - - - - - - - - - - - - - - - -
Select the appropriate number [1-2] then [enter] (press 'c' to cancel): 2
Escriba 2 y presione Enter para finalizar la instalación. Deberías ver el siguiente resultado:
Redirecting all traffic on port 80 to ssl in /etc/nginx/conf.d/wordpress.conf

- - - - - - - - - - - - - - - - - - - - - - - - - - - - - - - - - - - - - - - -
Congratulations! You have successfully enabled https://wordpress.example.com

You should test your configuration at:
https://www.ssllabs.com/ssltest/analyze.html?d=wordpress.example.com
- - - - - - - - - - - - - - - - - - - - - - - - - - - - - - - - - - - - - - - -

IMPORTANT NOTES:
 - Congratulations! Your certificate and chain have been saved at:
   /etc/letsencrypt/live/wordpress.example.com/fullchain.pem
   Your key file has been saved at:
   /etc/letsencrypt/live/wordpress.example.com/privkey.pem
   Your cert will expire on 2024-07-08. To obtain a new or tweaked
   version of this certificate in the future, simply run certbot again
   with the "certonly" option. To non-interactively renew *all* of
   your certificates, run "certbot renew"
 - Your account credentials have been saved in your Certbot
   configuration directory at /etc/letsencrypt. You should make a
   secure backup of this folder now. This configuration directory will
   also contain certificates and private keys obtained by Certbot so
   making regular backups of this folder is ideal.
 - If you like Certbot, please consider supporting our work by:

   Donating to ISRG / Let's Encrypt:   https://letsencrypt.org/donate
   Donating to EFF:                    https://eff.org/donate-le

 - We were unable to subscribe you the EFF mailing list because your
   e-mail address appears to be invalid. You can try again later by
   visiting https://act.eff.org.
WordPress con Nginx y Let’s Encrypt SSL en Ubuntu 24.04
«Con estos pasos, has instalado exitosamente WordPress en tu servidor Ubuntu 24.04 y lo has asegurado con un certificado SSL gratuito de Let’s Encrypt. Ahora tienes un sitio web totalmente funcional y seguro listo para ser personalizado y lleno de contenido. ¡Disfruta de tu nueva plataforma de WordPress!»