¿Qué es el Jupyter Notebook y para que se utiliza?
Jupyter Notebook es una aplicación web de código abierto que permite crear y compartir documentos que contienen código, ecuaciones, visualizaciones y texto explicativo. Se utiliza principalmente para la exploración de datos, el desarrollo de software y la enseñanza de ciencias de la computación y ciencias relacionadas. Los notebooks de Jupyter son compatibles con una amplia variedad de lenguajes de programación, incluyendo Python, R, Julia y muchos otros.
¿Cómo instalar el Jupyter Notebook en Ubuntu 22.10?
Puedes instalar Jupyter Notebook en Ubuntu 22.10 siguiendo estos pasos:
Actualiza los paquetes de tu sistema:
 apt update -y
 apt upgrade -y
Instalamos Python
Instalamos Python y sus dependencias en nuestro servidor. Con le siguiente comando:
apt-get install python3 python3-pip -yComprobamos la versión instalada con el comando:
python3 --versionEsta es la salida que obtuvimos:
Python 3.10.7
Con el siguiente comando actualizamos PIP:
pip3 install --upgrade pipVerificamos la version de PIP con el comando:
pip3 --versionSi todo ha salido bien obtenemos esta respuesta:
pip 23.0 from /usr/local/lib/python3.10/dist-packages/pip (python 3.10)Con el siguiente comando instalamos el entorno virtual:
pip3 install virtualenvY ahora con el siguiente paso.
Instalamos el Jupyter Notebook
Creamos el directorio de Notebook:
mkdir ~/projectLuego, entramos en el directorio y creamos el entorno virtual:
cd ~/project
virtualenv notebookenv
Activamos en entorno con el siguiente comando:
source notebookenv/bin/activateAhora instalamos el Jupyter Notebook con el comando:
pip install jupyter
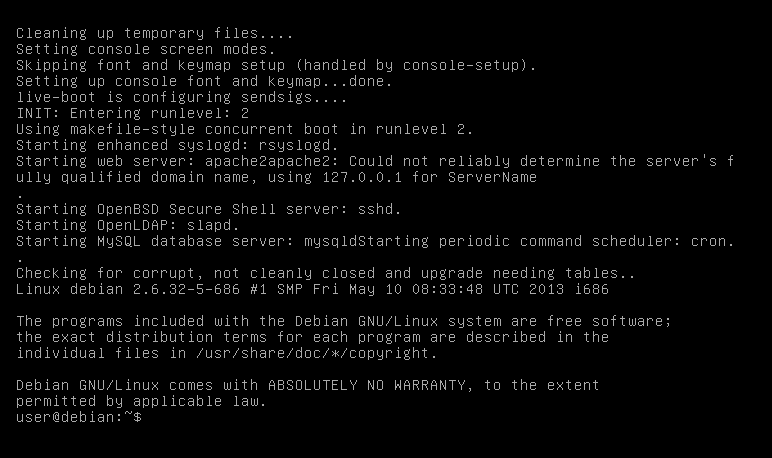
Cuando se instale el Jupyter Notebook lo iniciamos con el siguiente comando:
jupyter notebook --allow-rootLa respuesta es algo así:
[I 23:06:04.394 NotebookApp] Serving notebooks from local directory: /home/vesko
[I 23:06:04.394 NotebookApp] Jupyter Notebook 6.4.8 is running at:
[I 23:06:04.395 NotebookApp] http://localhost:8889/?token=634f7721dec929a445f609 8e4352db36638032b2422f713a
[I 23:06:04.395 NotebookApp] or http://127.0.0.1:8889/?token=634f7721dec929a445 f6098e4352db36638032b2422f713a
[I 23:06:04.395 NotebookApp] Use Control-C to stop this server and shut down all kernels (twice to skip confirmation).
[C 23:06:04.398 NotebookApp]
To access the notebook, open this file in a browser:
file:///home/veselin/.local/share/jupyter/runtime/nbserver-321-open.html
Or copy and paste one of these URLs:
http://localhost:8889/?token=634f7721dec929a445f6098e4352db36638032b2422f713a
or http://127.0.0.1:8889/?token=634f7721dec929a445f6098e4352db36638032b2422f713aPresionamos CTRL+C y paramos Jupyter Notebook
Generamos la contraseña para Jupiter Notebook
Con el primer comando generamos la configuración básica:
jupyter notebook --generate-configY con el siguiente creamos la contraseña:
jupyter notebook passwordNos pide la contraseña y la confirmación y salimos con el comando:
deactivateCreamos el servicio para Jupyter Notebook
Creamos con el comando:
nano /etc/systemd/system/jupyter.serviceY dentro añadimos las siguientes líneas:
[Unit]
Description=Jupyter Notebook

[Service]
Type=simple
PIDFile=/run/jupyter.pid
ExecStart=/root/project/notebookenv/bin/jupyter-notebook --config=/root/.jupyter/jupyter_notebook_config.py --allow-root
User=root
Group=root
WorkingDirectory=/root/project/notebookenv
Restart=always
RestartSec=10

[Install]
WantedBy=multi-user.target
Guardamos con CTL+O y salimos con CT+X. También reiniciamos los servicios y comprobamos con los comandos:
systemctl daemon-reload
systemctl start jupyter
systemctl enable jupyter
systemctl status jupyter
Instalamos Nginx y configuramos el Reverse Proxy para Jupyter Notebook
Primero instalamos Nginx con el comando:
apt-get install nginx -yY creamos la configuración para el virtual host:
nano /etc/nginx/conf.d/jupyter.confY añadimos estas lineas:
upstream notebook {
server 127.0.0.1:8888;
}

server {
listen 80;
server_name jupyter.myweb.com;

access_log /var/log/nginx/myweb.com.access.log;
error_log /var/log/nginx/myweb.com.error.log;

location / {
     proxy_pass http://localhost:8888;
     proxy_set_header X-Forwarded-For $proxy_add_x_forwarded_for;
     proxy_set_header X-Real-IP $remote_addr;
     proxy_set_header Host $http_host;
     proxy_http_version 1.1;
     proxy_redirect off;
     proxy_buffering off;
     proxy_set_header Upgrade $http_upgrade;
     proxy_set_header Connection "upgrade";
     proxy_read_timeout 86400;
     }
}
Guardamos y comprobamos la sintaxis con el comando:
nginx -tSi esta todo bien nos da esta respuesta:
nginx: the configuration file /etc/nginx/nginx.conf syntax is ok
nginx: configuration file /etc/nginx/nginx.conf test is successful
Reiniciamos el servicio de Nginx:
systemctl restart nginxY comprobamos su funcionamiento con el comando:
systemctl status nginxYou will get the following output:
 nginx.service - A high performance web server and a reverse proxy server
     Loaded: loaded (/lib/systemd/system/nginx.service; enabled; preset: enabled)
     Active: active (running) since Tue 2023-02-07 23:05:17 UTC; 25min ago
       Docs: man:nginx(8)
    Process: 105 ExecStartPre=/usr/sbin/nginx -t -q -g daemon on; master_process on; (code=exited, status=0/SU>
    Process: 116 ExecStart=/usr/sbin/nginx -g daemon on; master_process on; (code=exited, status=0/SUCCESS)
   Main PID: 117 (nginx)
      Tasks: 2 (limit: 19007)
     Memory: 9.8M
        CPU: 24ms
     CGroup: /system.slice/nginx.service
             |-117 "nginx: master process /usr/sbin/nginx -g daemon on; master_process on;"
             `-118 "nginx: worker process"
Añadimos el modo o los privilegios del grupo para www-data con el comando:
usermod -g www-data root
Para configurar el acceso remoto a Jupyter Notebook tenemos que configurar lo siguiente:
nano /root/.jupyter/jupyter_notebook_config.pyDes comentamos la línea y cambiamos False por True:
c.NotebookApp.allow_remote_access = True
Guardamos y reiniciamos:
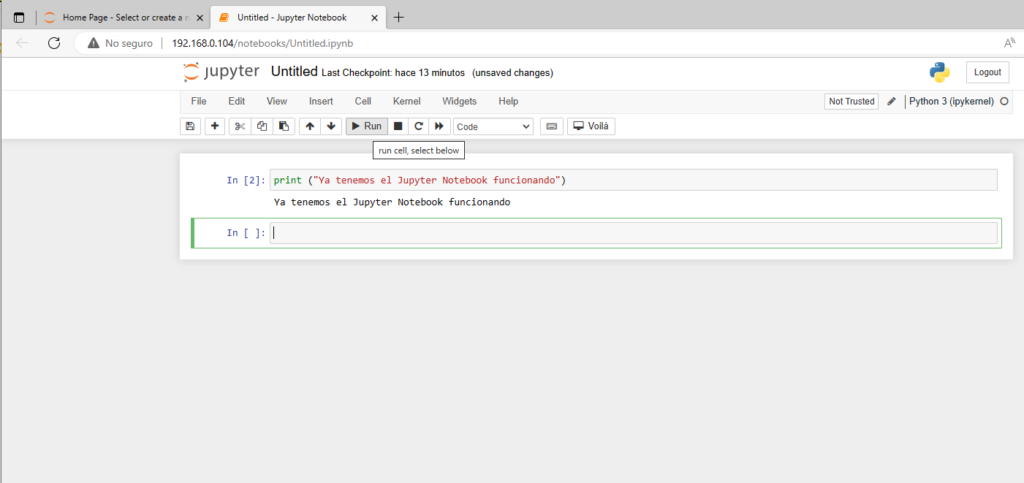
systemctl restart jupyterY con esto debemos poder entrar en nuestro Jupyter Notebook
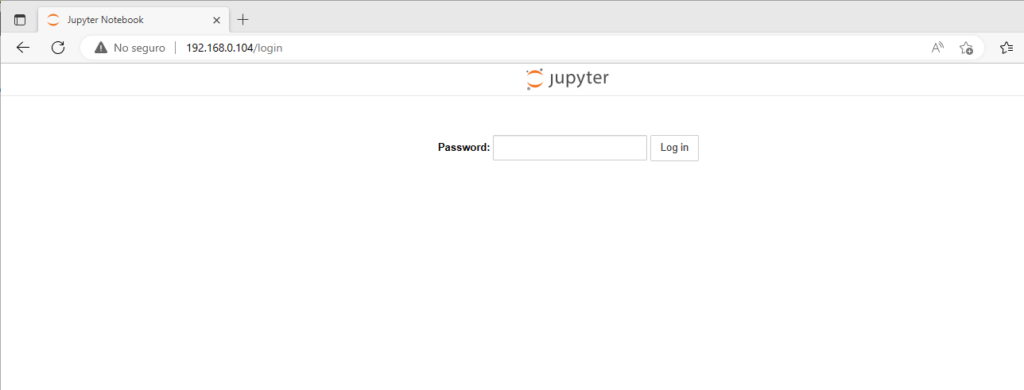
Como acceder a Jupyter Notebook
Si esta todo bien podemos acceder a nuestra web con su URL: http://myweb.com o en su defecto con la IP del nuestro servidor. Para el acceso nos pedirá la contraseña que pusimos unos pasos mas arriba.
Esto es todo, cualquier pregunta podéis contactarme en los comentarios.